- Published on ·
- Reading time 6 min read
Livestreaming to Twitch Using a Command Prompt
Fancy something different today?
Share this page

Introduction
Do you have a prerecorded video that you'd like to live-stream to Twitch? Sure, there's a bunch of tools out there that will allow you to upload prerecorded videos not only to Twitch but also to YouTube and Facebook Live, but wouldn't you like to try doing it the old-school way?
All humour aside, this article is meant for novelty purposes only. I'm hoping that some readers will be fascinated to learn something that they might have not known of before, just like I did when I learnt this.
Step 1: Setting up your Livestream
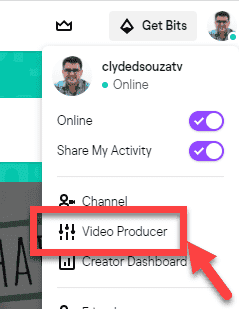
Hopefully, if you are reading this, you might already have a Twitch account. If not, it's fairly straightforward to sign up. After you've logged in, click on your profile on the top-right of the screen to bring up a dropdown. From the dropdown, click on Video Producer.
This should redirect you to the Creator Dashboard. Click on Stream Manager from the left panel and then click on Edit Stream Info from the right panel.

From the Edit Stream Info pop up, enter the details of your live stream like the title of your video, the category this live video belongs under, suitable tags, etc. Once complete, click Done to save the changes.
Step 2: Getting the stream key
Now, we want to get the stream key from Twitch. A stream key is a unique key that is associated with your account and should be treated like a secret (so no sharing!). Should your stream key become public at any time, it's very easy to just reset the key.
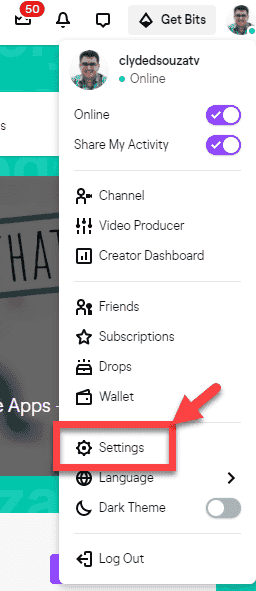
To get the stream key, click on your profile from the top-right and from the dropdown, select Settings.
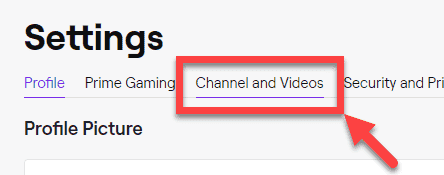
Now, click on Channel and Videos.
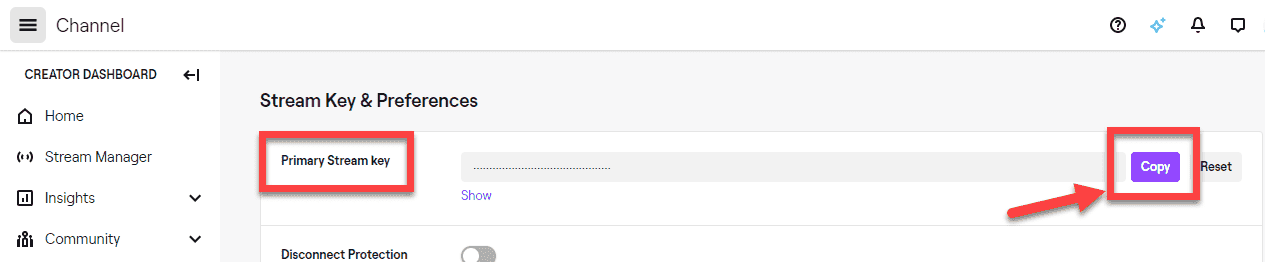
This should redirect you to a page with your stream key at the very top of the page, something similar to the screenshot below. Click on the Copy button to save your key.
Step 3: Installing FFmpeg
Head over to FFmpeg's website — there's a couple of options on that page. We want to download an executable file and not the source code itself. So, depending on your operating system, click on either the Linux, Windows or macOS icon. I'm using a Windows PC, so if you're using any other operating system, the steps for installation might differ slightly.
For Windows users, the website has a link to https://www.gyan.dev/ffmpeg/builds/. Scroll down on this page to the release section and download the essentials ZIP file.

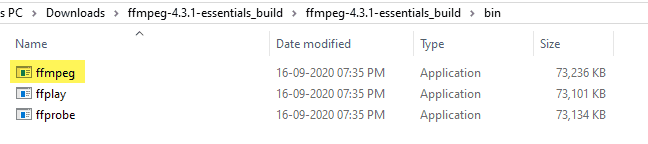
Unzip the file and click to check its contents. The folder should contain a bin folder and inside that, there should be an application file called FFmpeg. Copy this folder path — we'll need it for our next step.
Alright — great work so far, a few more steps to go.
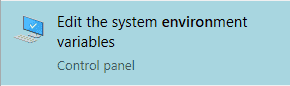
Next, we want to make this FFmpeg application available across our PC. To do so, click on Windows and search for environment variables. You should see something like Edit the system environment variables — click on that.
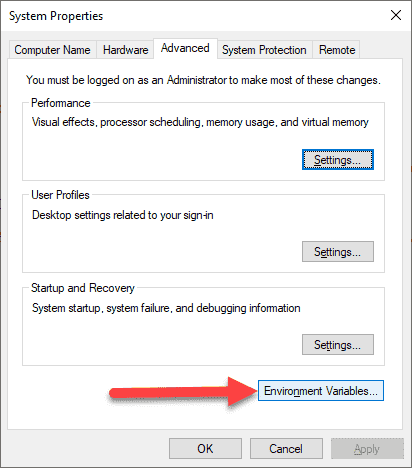
Then, from the System Properties window, click on the Environment Variables… button at the bottom.
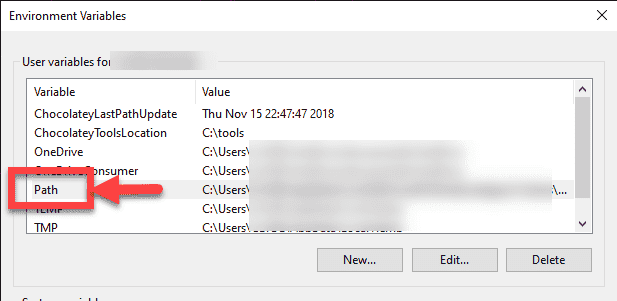
From the Environment Variables screen, double-click on Path.
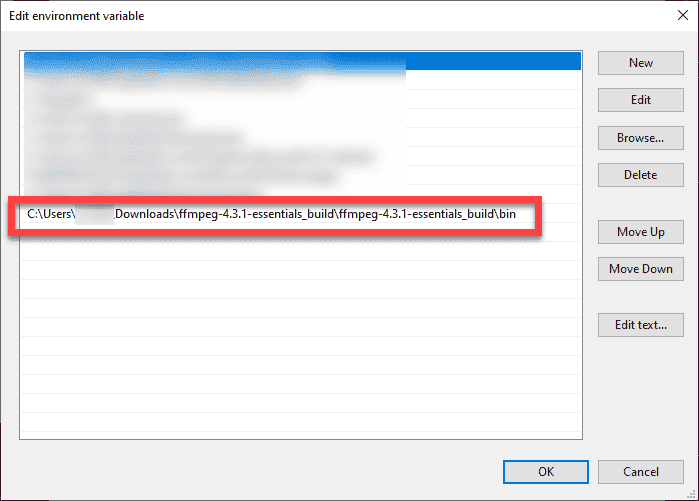
From the Edit environment variable screen, click on the last empty line and paste the path to the bin folder we copied earlier. Click on OK to save the changes.
To test everything has been set up correctly, open up command prompt and type in the command ffmpeg -version. This command should print some information about this tool on the screen similar to the following screenshot.
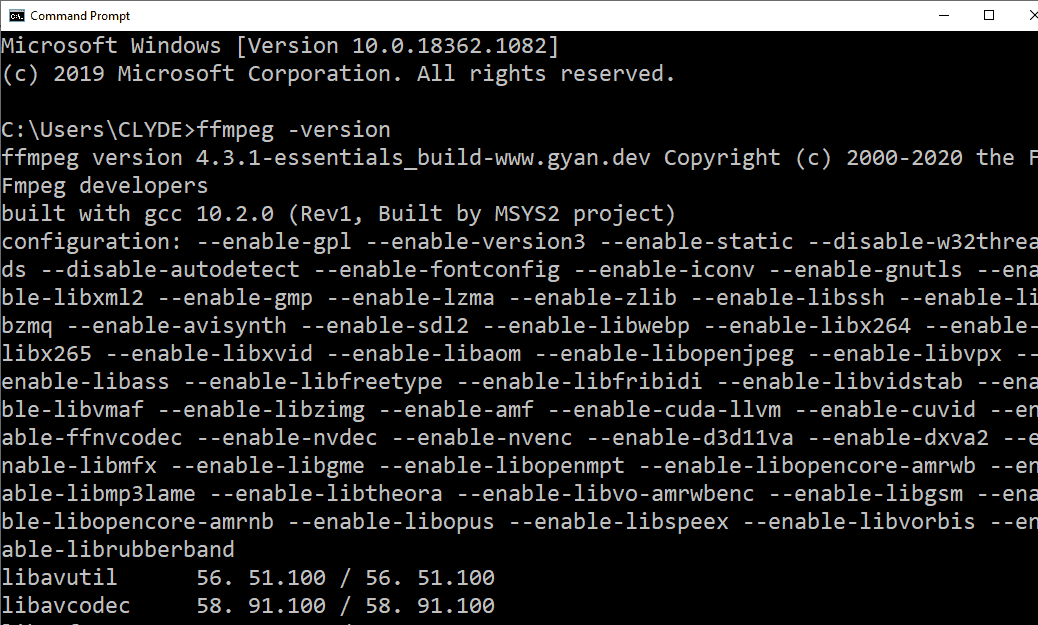
If you see an error message like 'ffmpeg' is not recognized as an internal or external command, operable program or batch file as the output of the command, then you've not set up the environment variables correctly. If that's the case, please revisit the section above.
Step 4: Constructing the command
This is the command that we'll make use of to upload our video to Twitch:
ffmpeg -re -i VideoToUpload.mp4 -c copy -f flv rtmp://live-fra.twitch.tv/app/{key_here}
But before you execute the command, check out these Twitch ingest recommendations. This tool tells you which servers are the closest to you and which one should be best for streaming your video to.
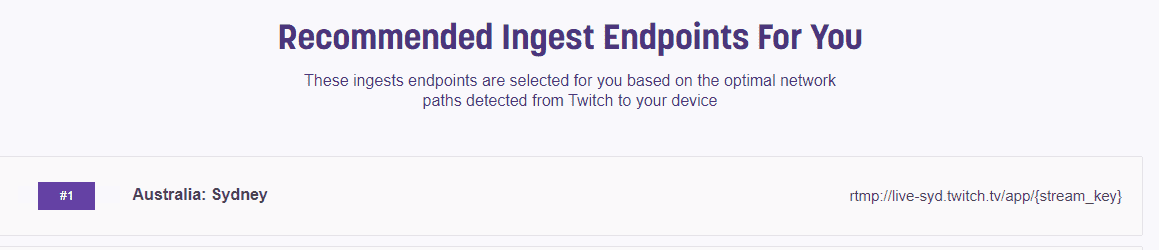
Basically, the live-fra in the URL above stands for the Twitch server in Frankfurt, Germany. For a better quality upload, you would want to stream your video to the server closest to your location. So, if you are based in Germany, then live-fra might be best for you. But since I'm based in Auckland, New Zealand, the website tells me that the closest server is in Sydney, Australia.
After applying their recommendation, my command now looks like this:
ffmpeg -re -i VideoToUpload.mp4 -c copy -f flv rtmp://live-syd.twitch.tv/app/{stream_key}
Replace {stream_key} with the key we copied from the steps earlier.
Step 5: Go Live!
A shortcut to open up the command prompt in the folder you're in is to type cmd in file explorer's address bar and hit enter.
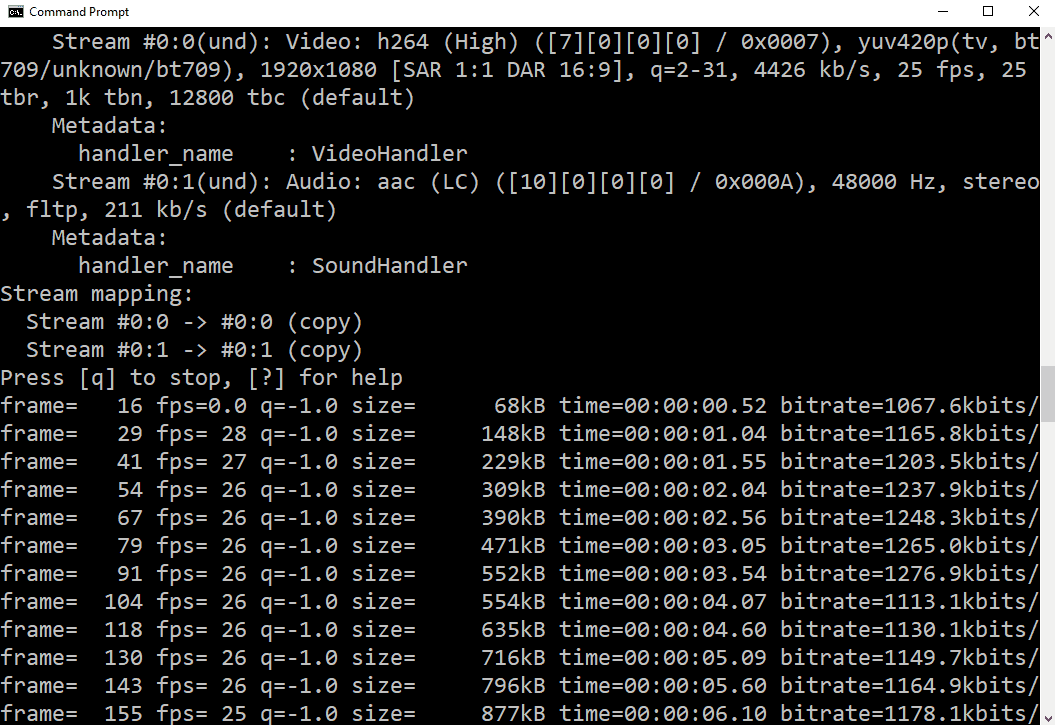
Now, type the command as mentioned in step 4. Here's an example of the command I used.

Hit enter and you should see some progress. And in just a few moments, the live video should start playing in Twitch.
Important:
- I noticed that a few seconds from the start of the video gets trimmed off. I'm yet to figure out why this happens. In the meantime, the workaround is to ensure that your video has approx six seconds buffer at the start —maybe try adding a pre-live banner.
- I noticed that when the total bitrate of my video was 22871kbps, FFmpeg was streaming over 19800kbits/s which is way above the recommended 6000kbps limit provided by Twitch. Decreasing the bitrate of the video also decreases the bitrate of the live-streamed video and puts it under the 6000kbps limit.
That's it. Hope you had fun and learnt something new today. Thanks for reading!
Disclaimer: The joining link to Restream and Canva are referral links. Using this link to sign up will give you and me some credits.