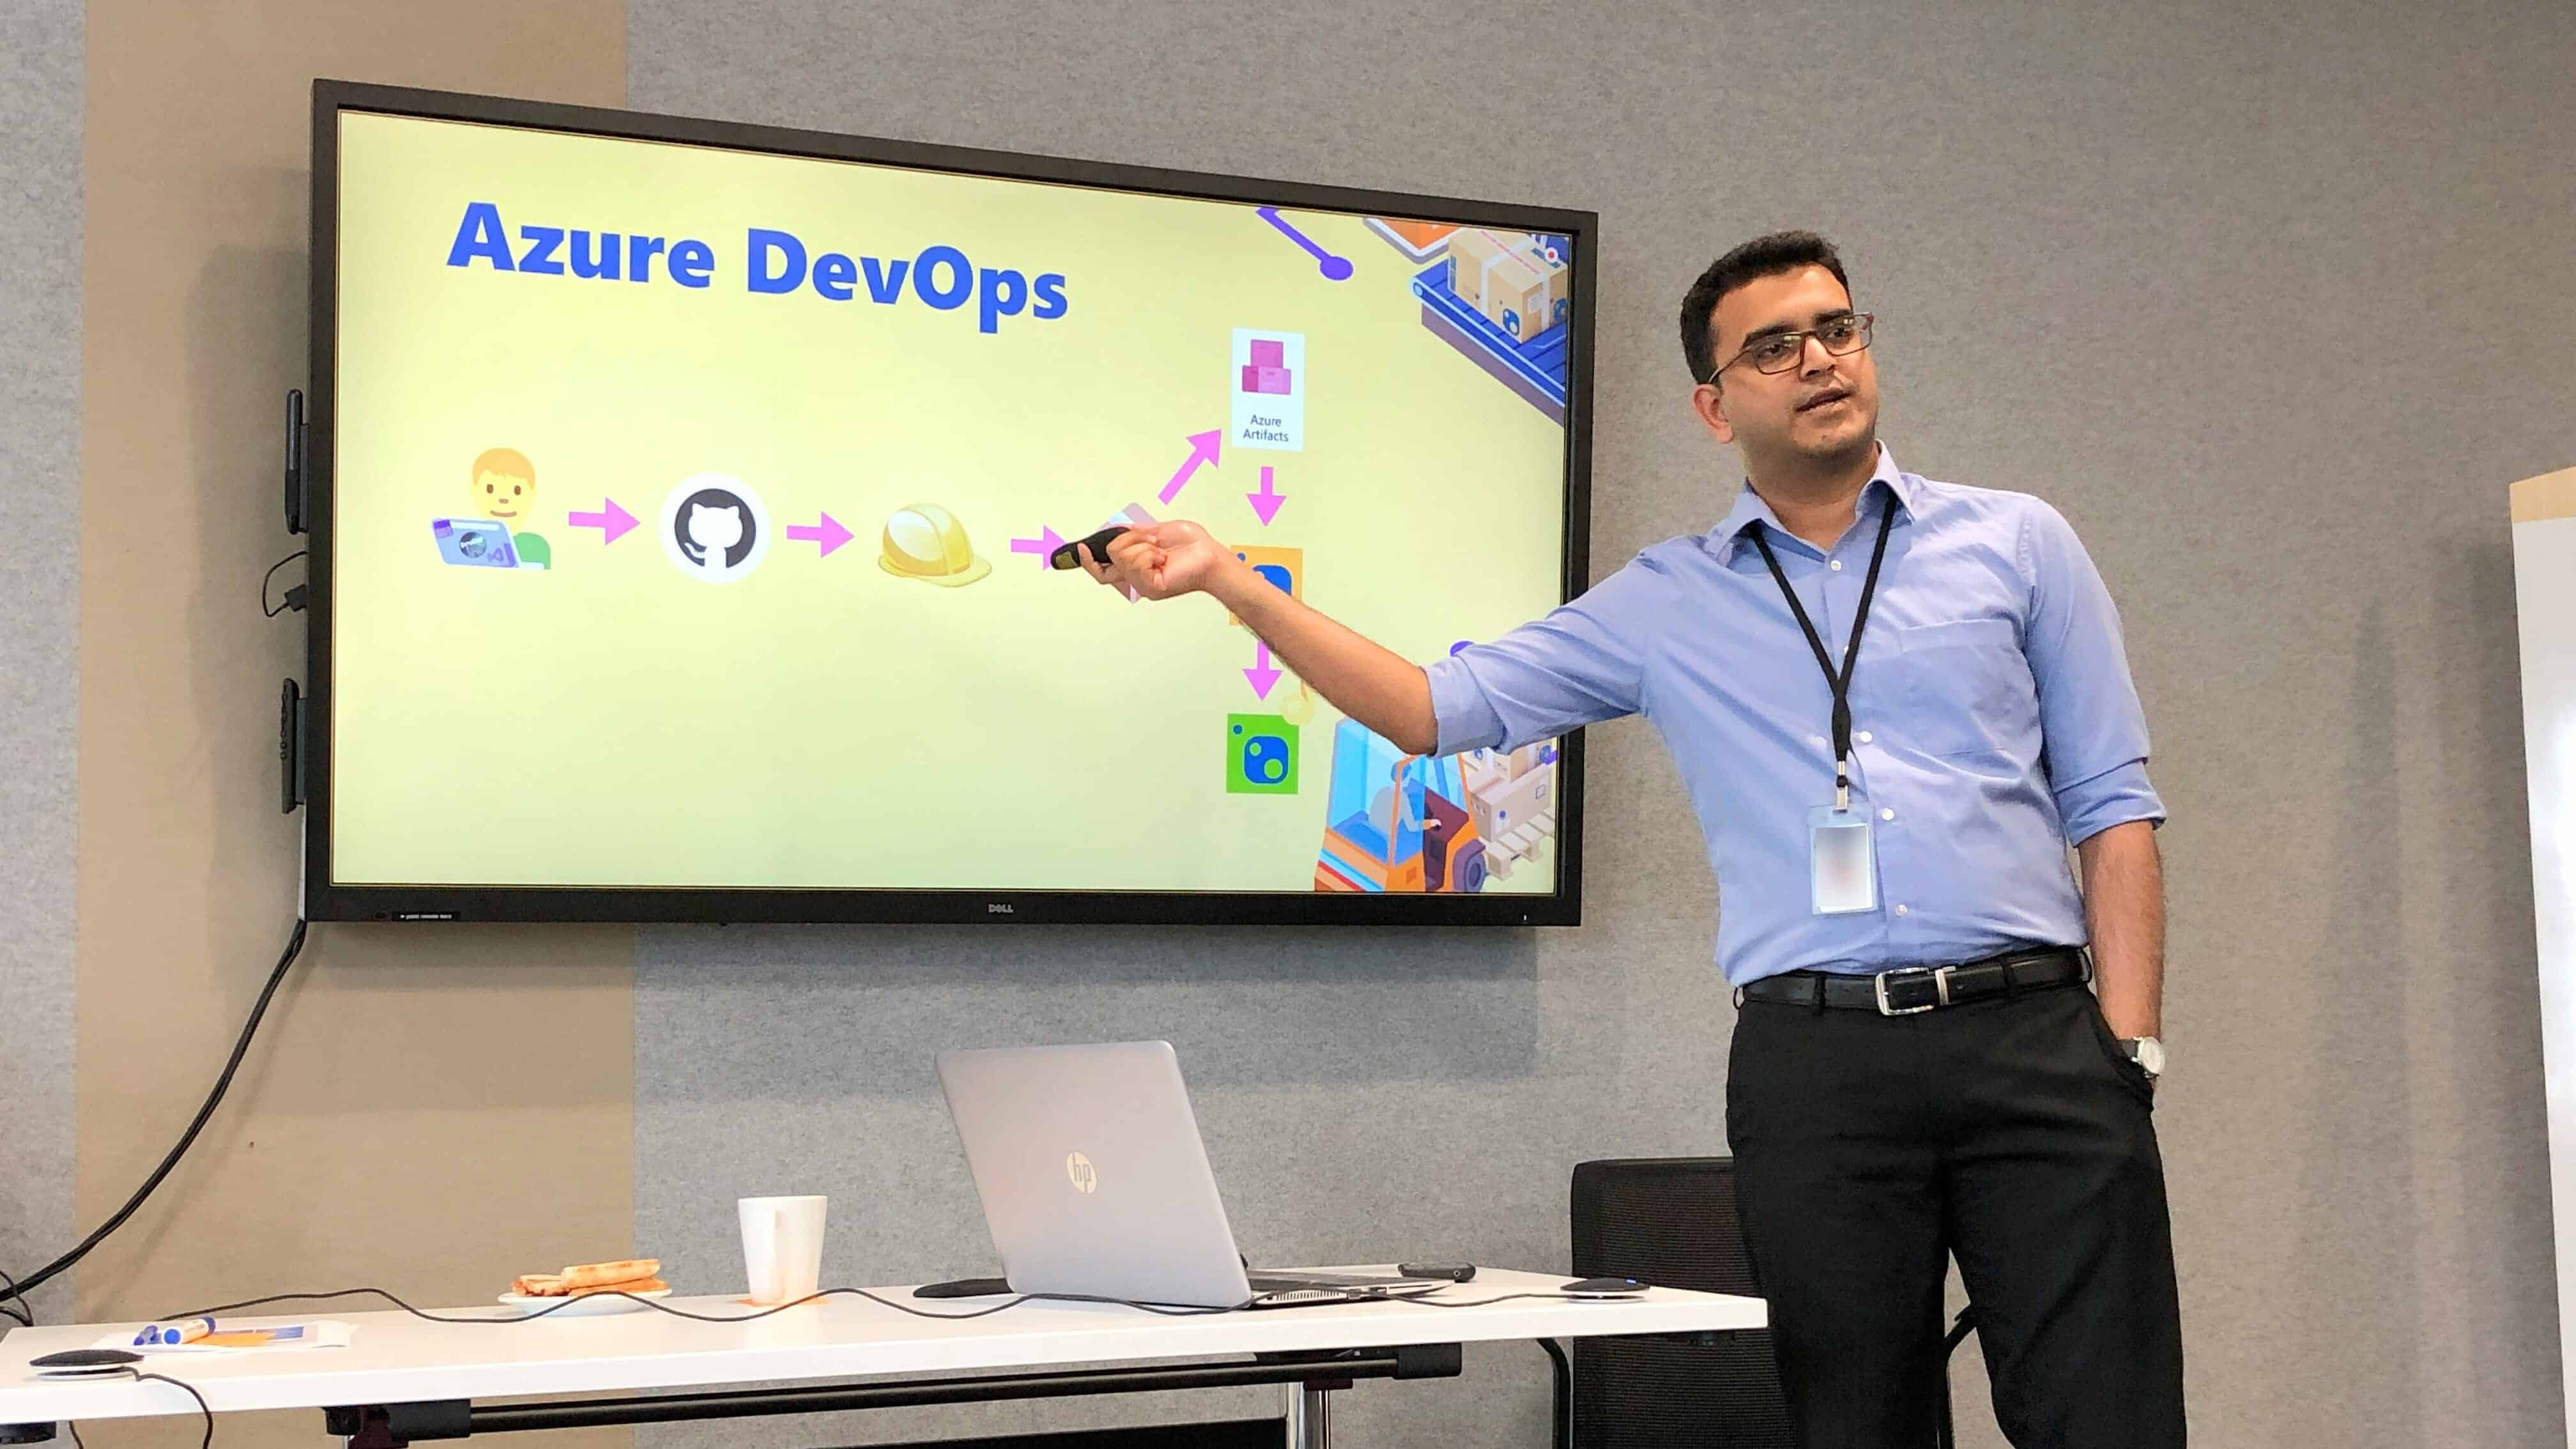
- Published on ·
- Reading time 7 min read
5 Simple Technical Presentation Lessons
Lesson #1: Don't over-do it
Share this page

Introduction
This November it'll be a year since I last spoke at the .NET Conference. So, I wanted to take a moment to reflect back on it and see what we can take away from that event experience and also share a few presentation tips with you all.
My session from .NET Conference 2020
Although I was no stranger to public speaking, this was the first time I was speaking at a major conference, at least for us .NET developers. This was also going to be a live virtual event so everything had to go smoothly and obviously in a single take.
Since the date it was confirmed that I was going to be speaking at this event, I had about a month to prepare. So, I pretty much made the initial rough slides based on the abstract I had submitted when the call for speakers period was open. This gave me a general framework, a skeleton structure to work with. Now, I had to flesh out each topic a bit more, prioritize my notes, and only put on the slides what I felt were the most important bits, at that stage.
Lesson #1: Don't over-do it
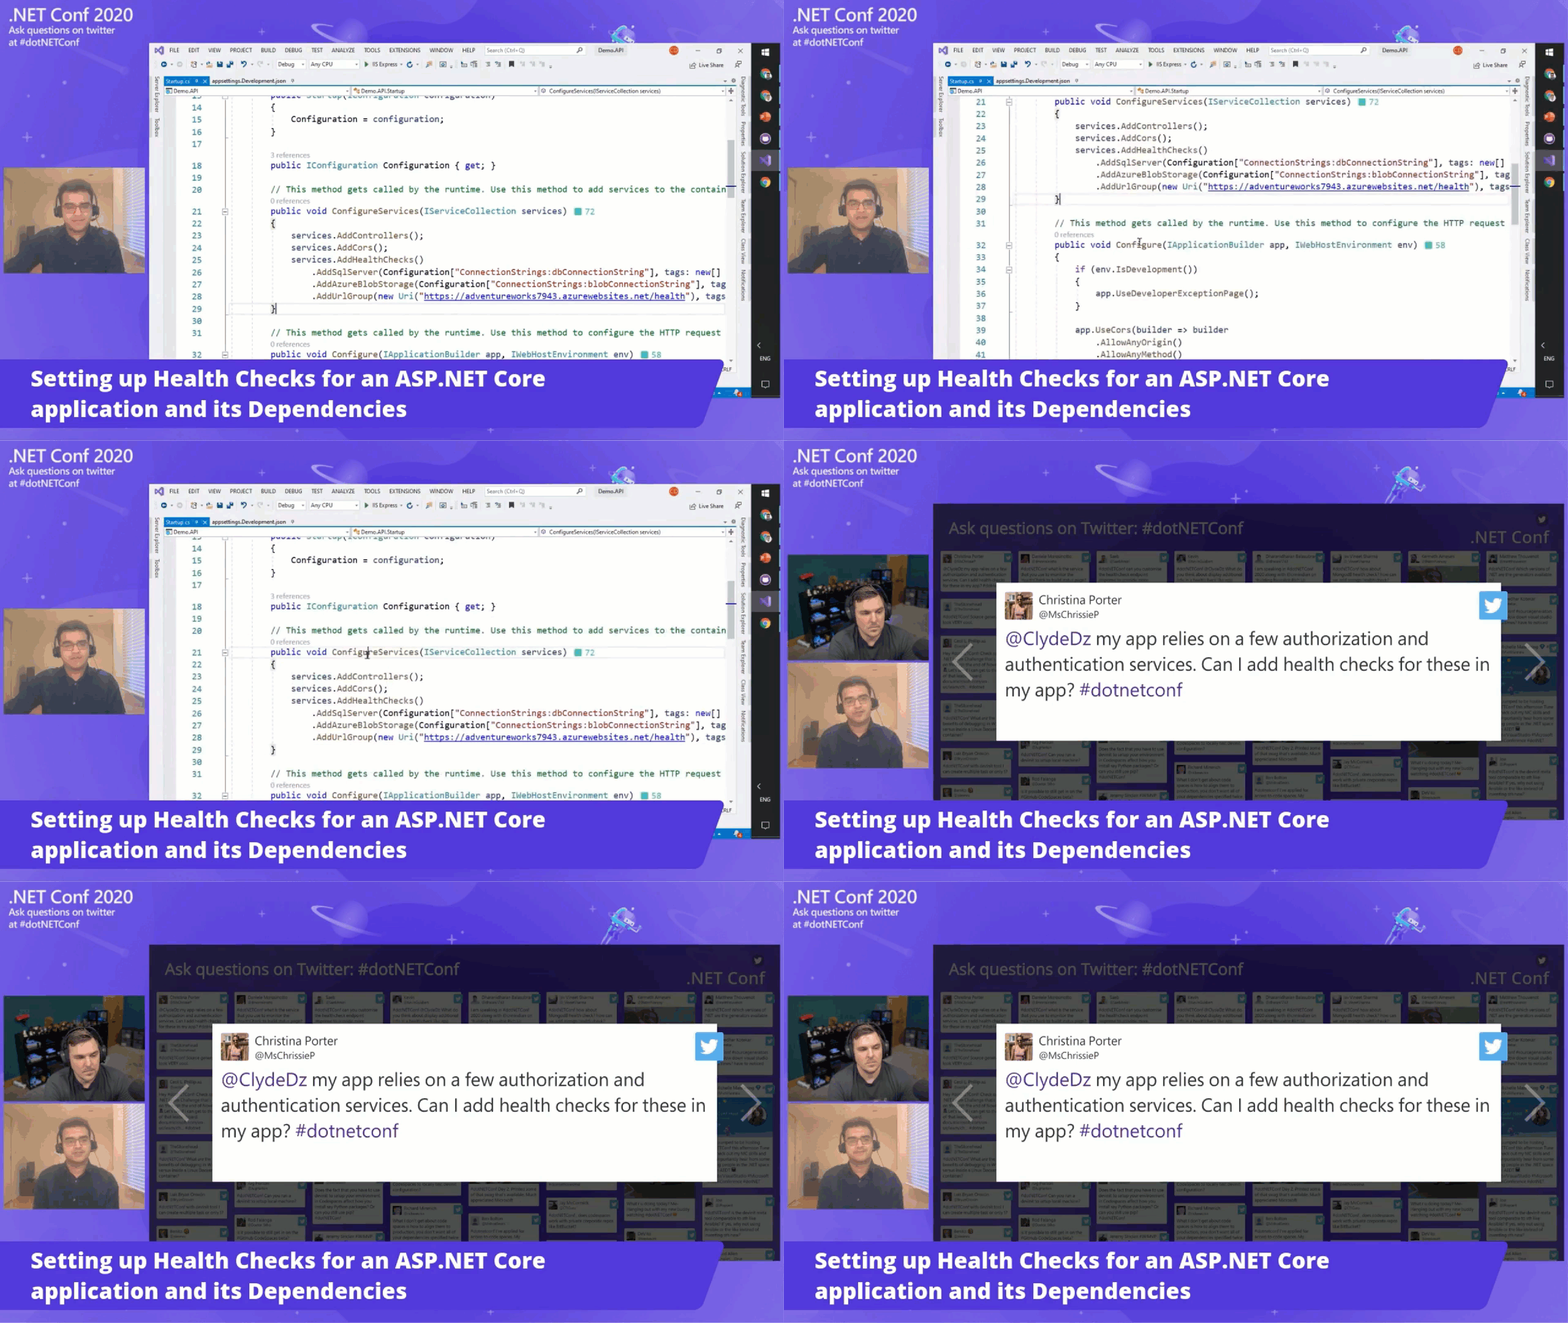
The duration for most sessions at this conference was timeboxed to thirty minutes, so the general guideline I was working with was about twenty minutes of presenting and ten minutes of live Q&A.

Image source: My session from .NET Conference 2020
Of course, this is not set in stone because I do have to account for any technical set-up time, glitches, time lost during transitions or any other uncertainties.
When I originally timed and practiced what I had put together, I was exceeding the twenty-minute mark. This meant that in the unlikely event that something goes wrong, I'd have to rush things, which is something you'd want to avoid at all costs. Based on this, I dropped one concept out from the final presentation which brought me back under the twenty-minute mark.
So, lesson #1 is don't overdo it. It's better to cover less and keep it well-paced rather than cover many things and do it hastily. Don't pack too many things in your session but instead, just keep it down to a couple of things that you'd like to focus on. Your audience may be listening to these concepts for the first time so they may not be able to pick things up at the same speed you're delivering.
As a speaker, it's also less stressful if you keep your speech well-paced and pause regularly. To the listeners, it will sound like you're calm and composed. This strategy also helps reduce the number of crutch words when speaking.
Lesson #2: Flow of the demo
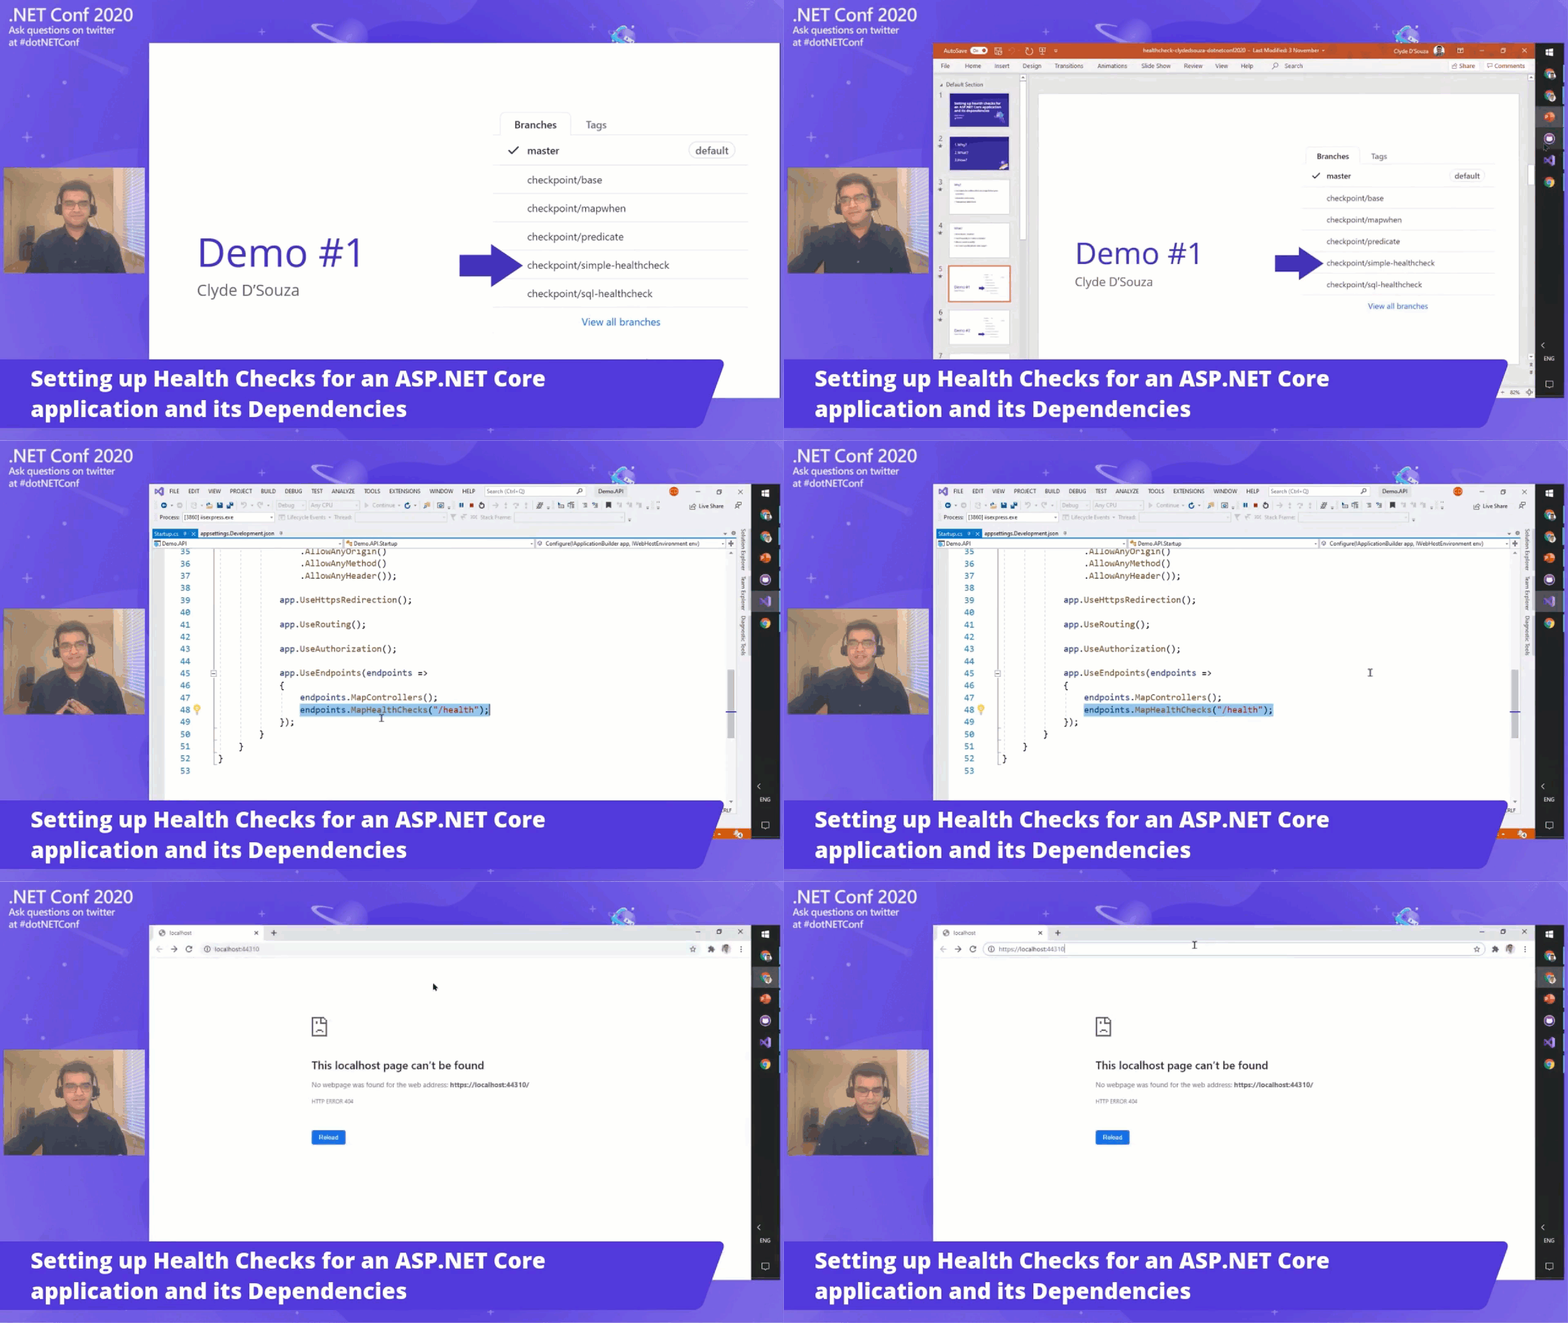
Now that I had refined what I was going to talk about, it was important to organise the presentation in a way that flowed smoothly. My session was a mix of slides and code demos, so I had to make sure I was not switching between PowerPoint, Visual Studio, GitHub and my browser constantly and rapidly otherwise it would've become very confusing for the viewers.

Image source: My session from .NET Conference 2020
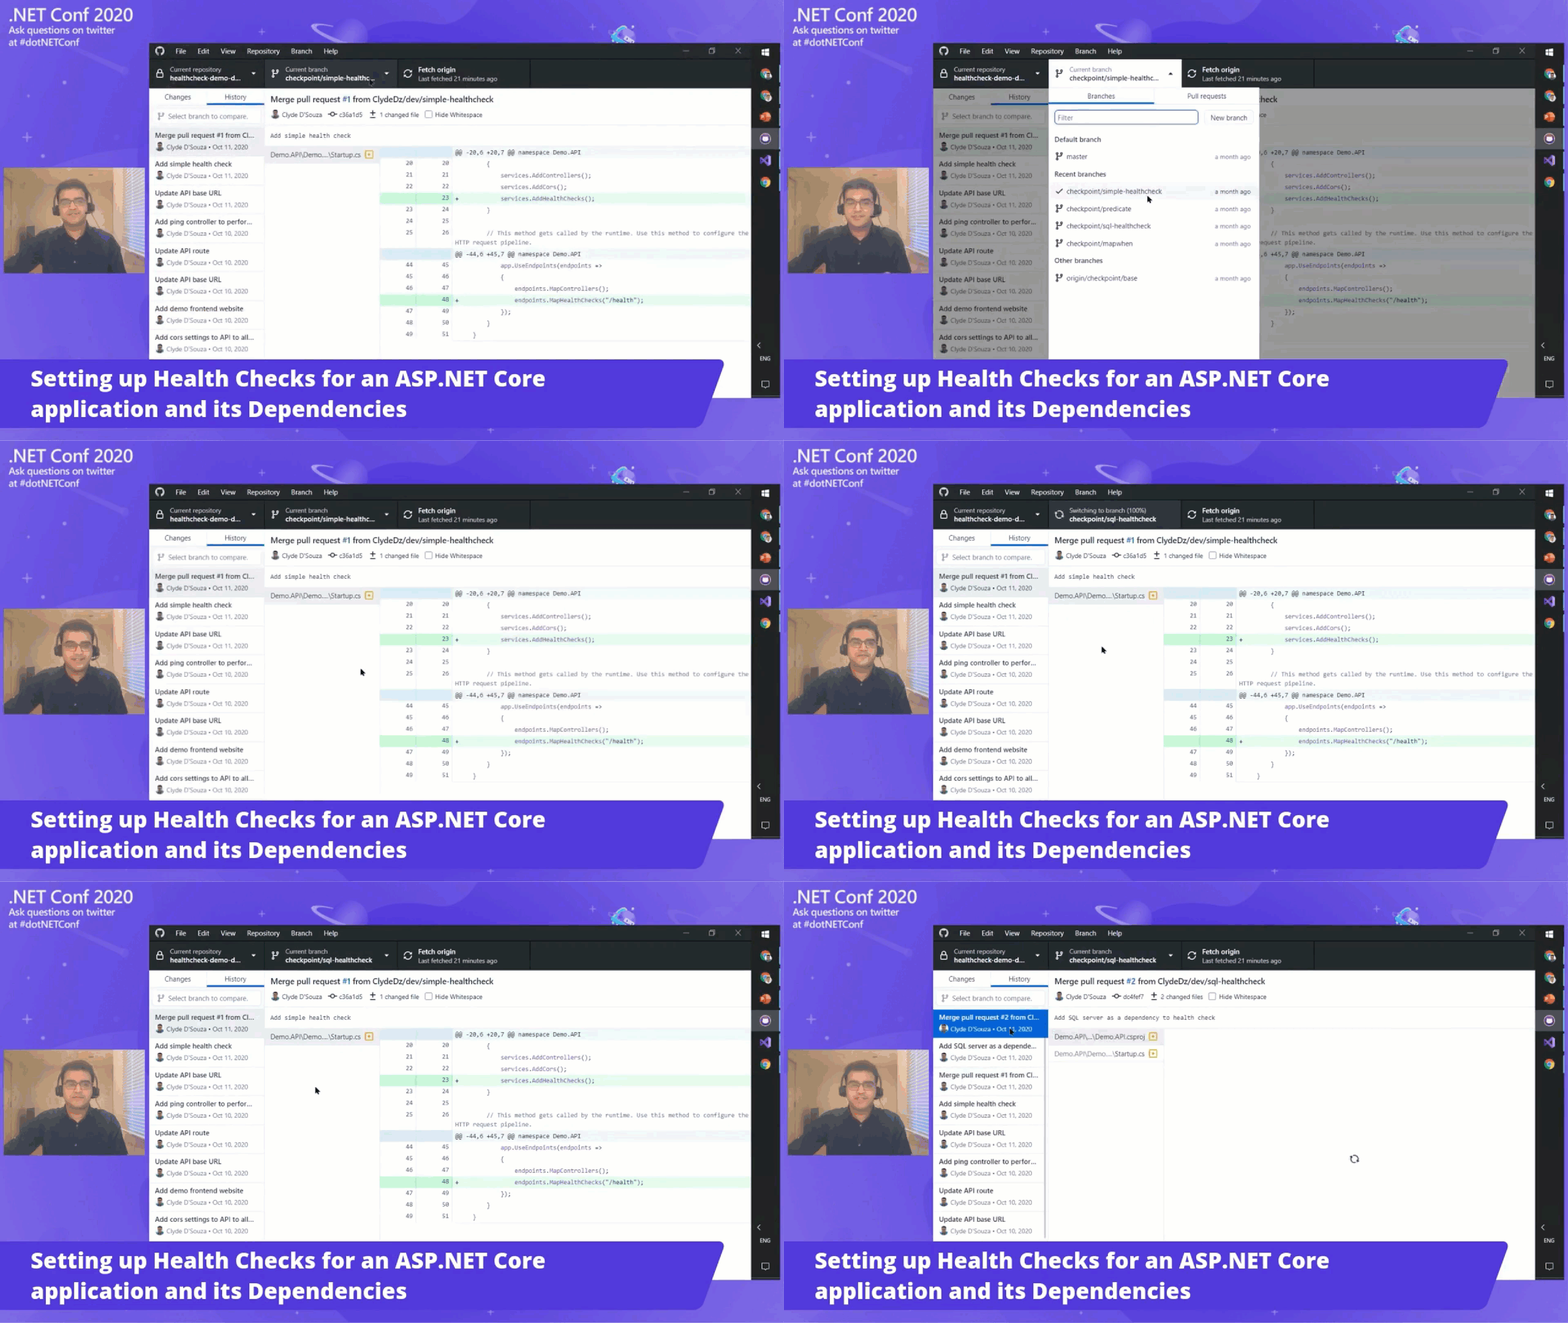
As for the demo, besides praying to the demo gods to make the live demo go smooth, I planned the demo in a way where I kept live coding to the minimum. Instead, I used Git to store versions of checkpoints — one for each demo — so I could easily switch between them on the day.

Image source: My session from .NET Conference 2020
Each concept was gradually introduced and was built upon the previously introduced code. This way, each step demonstrated something new and yet it was not too unfamiliar.
The lesson here is to try and gradually increase the complexity of your demo's so that your audience can ease into the session. Also, don't switch between applications unless necessary and if you do have to do so, either take that time to create an auditory pause so that the information you just delivered can sink in, or explain why you are making this transition and do it slowly — otherwise your audience might get lost in this transition.
Lesson #3: The big picture
Now that I knew how I was going to structure my session, I started off my presentation with a slide that explained how I divided my session — why, what and how — and briefly mentioned the main talking points under each section. Think of this as a very high-level table of contents page of a book.
I found this useful because now my audience knows exactly what to expect from the session and can look forward to it.
Towards the end of the video, I also included a high-level architecture diagram showing how all the components fit together. This is important because all the curious members in the audience would already be asking this question — where is this placed in the grand scheme of things? If it makes sense for your session, I'd highly recommend providing a high-level diagram.
Both the steps above— setting the expectations at the start and providing a big picture of how everything fits together — allow my viewers to zoom out for a bit and see the big picture along with the specifics that I cover in my session.
Lesson #4: Practice, practice, practice
In the one month that I had, I practiced my session almost every day repeatedly. These practice runs didn't only include what I'm speaking but also the code I was demoing and the transitions between different applications. This gave me the confidence that even subconsciously I'd know what to talk about on the day and even if I forgot the rehearsed lines, I'd know the gist of it and that should allow me to buy a few seconds before I recall the exact words again.
So, no matter how well you already know a concept, always practice, practice, practice.
Lesson #5: Recap
Towards the end, after I completed the code demo's, I was going to jump back into the slides and then off to some additional material. But before I did, I thought let me include a recap slide in between the demo and the remaining slide material.
A German researcher once showed that repeated exposure to information in spaced intervals provides the most powerful way to better recall and learn information. Relative to the duration of the session, recapping what was talked about after an interval should help summarize and cement the concepts talked about.
In the spirit of this lesson, which is to try and include a recap at a suitable checkpoint, I'd like to put this to practice right now. Let's do a quick recap of what we covered in this article.
- Lesson #1: Don't overdo it. Sometimes less can be more.
- Lesson #2: Pay close attention to the flow of the demo and ease your audience into it.
- Lesson #3: Try and give your audience the big picture wherever possible.
- Lesson #4: Always practice, practice, practice.
- Lesson #5: Include a recap at a suitable checkpoint.
Having said all of this, it's important to remember that not every event will be flawless but it's important to try and speak at such events and give it your best each time.
That's it. Thanks for reading!