- Published on ·
- Reading time 3 min read
How To Use a Test Reporter With Create React App
Publishing tests results so you can examine them in your CI tool of choice
Share this page

The Create React App template comes with a lot of boilerplate code that should get you up and running with a simple React app in no time. You can then build on top of that and make it as swanky as you'd like.
If you open up the package.json file, you'll see a few scripts you can run.
"scripts": {
  "start": "react-scripts start",
  "build": "react-scripts build",
  "test": "react-scripts test",
  "eject": "react-scripts eject"
}
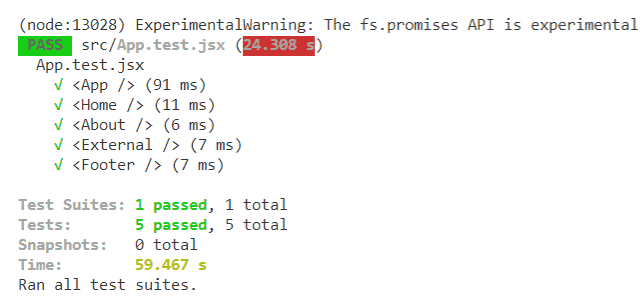
Create React App uses Jest as its test runner. Executing npm run test will run the unit tests that come pre-built with the app. I've added a few more tests to my demo app, so here's my output after running the tests.
How to use this in your build pipeline?
This is great — all the tests run and you also see the output in the console. However, when you run these tests in a continuous integration (CI) pipeline, you'd want a way to publish these test results so they can be visualized and analyzed easily. Every DevOps tool comes with its own UI baked into the product to visualize your test results and generate a report and for it to do so, it would expect to read the test results from an XML file produced by a test reporter. At the moment, we only print our test results to the console, but no such XML file is produced. Then how do we accomplish this task?
First, let's install the npm package jest-junit. This is a test reporter for jest tests and is capable of producing an XML file that would contain the test results. We'll then add a new script to your package.json file like the snippet below.
"test:ci": "npm run test -- --testResultsProcessor=\"jest-junit\""
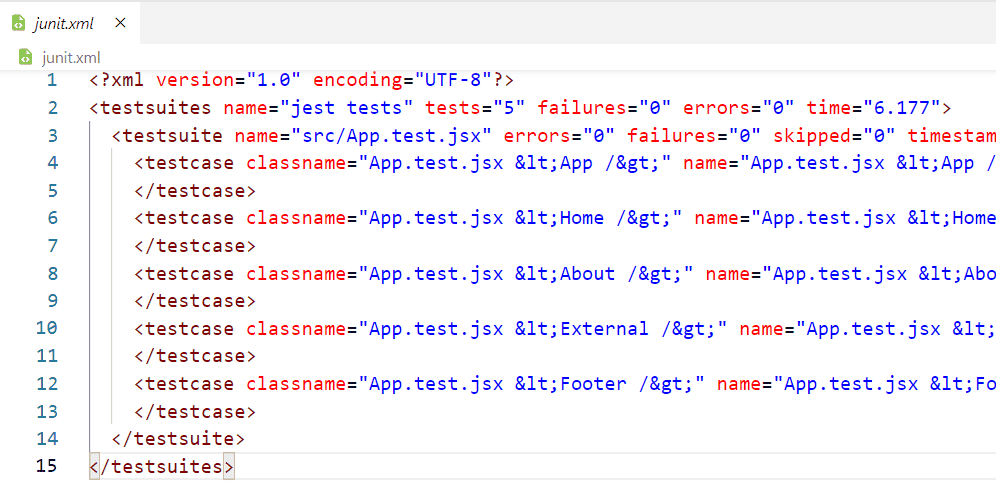
This executes the same npm run test command but adds --testResultsProcessor=“jest-junit” instructing the test runner to use the jest-junit library as the test results processor and produce an XML file which by default, is named junit.xml. Running the command should now produce a junit.xml file in the root directory.
You don't need to commit this file to your code repository. The build pipeline will produce this file and then in the next step, you can supply this file to the task that will publish the test results.
Bonus: Adding code coverage
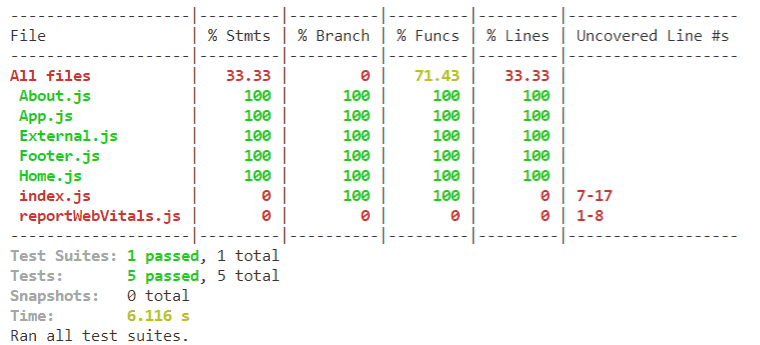
If you'd also like to produce a code coverage result, simply supply the additional arguments --coverage --ci and see the magic happen.
"test:ci": "npm run test -- --coverage --ci --testResultsProcessor=\"jest-junit\" --watchAll=false"
If you run this command in the console, you should see a table like this:
Your code coverage results are also produced in the coverage folder like the screenshot below.
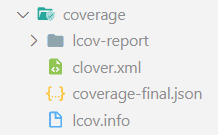
These files can then be supplied to the task that will publish code coverage results to your DevOps tool of choice.
That's it. Thanks for reading!