- Published on ·
- Reading time 10 min read
Fundamentals of GitHub Actions
Confidently create workflow files in your GitHub repository
Share this page
Introduction
I've only recently dived into GitHub Actions and I'm amazed at what it can do. To put it simply, GitHub Actions helps you create workflows — this is not limited to a CI/CD pipeline, you can also create various automation tasks like automatically labelling issues when they're created, linting code with every pull request, notifying a Slack channel when a package is updated in the GitHub registry — and all of this is done within the GitHub code repository itself.
In this article, we'll have a look at the fundamental components of GitHub Actions so you may feel confident using them in your repositories.
How to edit an action file?
Before you begin, it's important to get your toolkit ready. I would highly recommend using VS Code to edit your GitHub Actions workflow file. Additionally, installing this VS Code extension provides IntelliSense and real-time code linting.
Now that that's out of the way, let's begin.
Creating, storing and naming
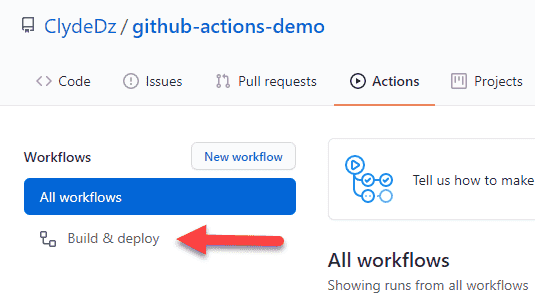
You can create a GitHub Actions workflow file by adding a YAML file in the .github/workflows directory of your repository. You can either have a single workflow file in this directory or multiple workflow files. Each workflow will run depending on the trigger event you've configured.
Your GitHub Actions workflow file can be named anything you like, although, I wouldn't recommend naming it action.yml. Here's why — when creating your own custom action for others to use, you need to supply a metadata file that has to be named action.yml (or action.yaml) and has a slightly different syntax than regular workflow files. The VS Code extension linked above validates the syntax of this metadata file if the file is named action.yml (or .yaml). Hence, to avoid code linting conflicts, it's best to give your workflow file another name.
You would've noticed, I've used two different YAML file extensions above. That's because both of them are valid filenames, i.e, build.yml and build.yaml are both correct.
While we're on the topic of naming, the name keyword in the YAML file is used to give your workflow a suitable name. This is usually the first line of code you may want to write in your workflow file.
name: Build & deploy
Although this keyword is optional, I would recommend adding it in for better readability since this value appears in GitHub Actions UI.
Triggers and GitHub events
The on keyword is used to specify when this workflow will get triggered. For instance, the code snippet below allows the workflow to be triggered whenever a push event occurs or a pull request happens. A full list of events that can trigger a workflow can be found here.
on: [push, pull_request]
You can also specify which branches these rules will apply to. For instance, in the code snippet below, we're triggering this workflow when a push is made to the main branch and when a pull request is created to merge changes to the main branch.
on:
  push:
    branches:
      - main
  pull_request:
    branches:
      - main
A workflow can also be triggered on a scheduled basis using the cron syntax. The code snippet below will trigger this job every day at eight am (all times are in UTC). This handy online tool should help you heaps when creating cron rules like this.
on:
  schedule:
    - cron: '0 8 * * *'
Jobs
A workflow can contain multiple jobs. Each job will have some meta-information about itself and can have multiple steps. The general structure of a job is outlined below.
jobs:
  # General structure of a job
  # ↓ ↓ ↓ ↓ ↓ ↓ ↓ ↓ ↓ ↓ ↓ ↓ ↓

  this_job_key:
    # Meta-information about this job
    # ↓ ↓ ↓ ↓ ↓ ↓ ↓ ↓ ↓ ↓ ↓ ↓ ↓

    name: This job
    runs-on: ubuntu-latest
    needs: previous_job_key
    if: github.ref == 'refs/heads/main'

    # Other properties of the job can go here
    # ...

    steps:
    # Properties and values defining various steps in this job goes here
    # ...
Tip: Comments can be added to your workflow file by prefixing your comment with a hash
#symbol.
Every job is uniquely identified with a job key. This key becomes the keyword that contains all other information about this job.
Meta-information
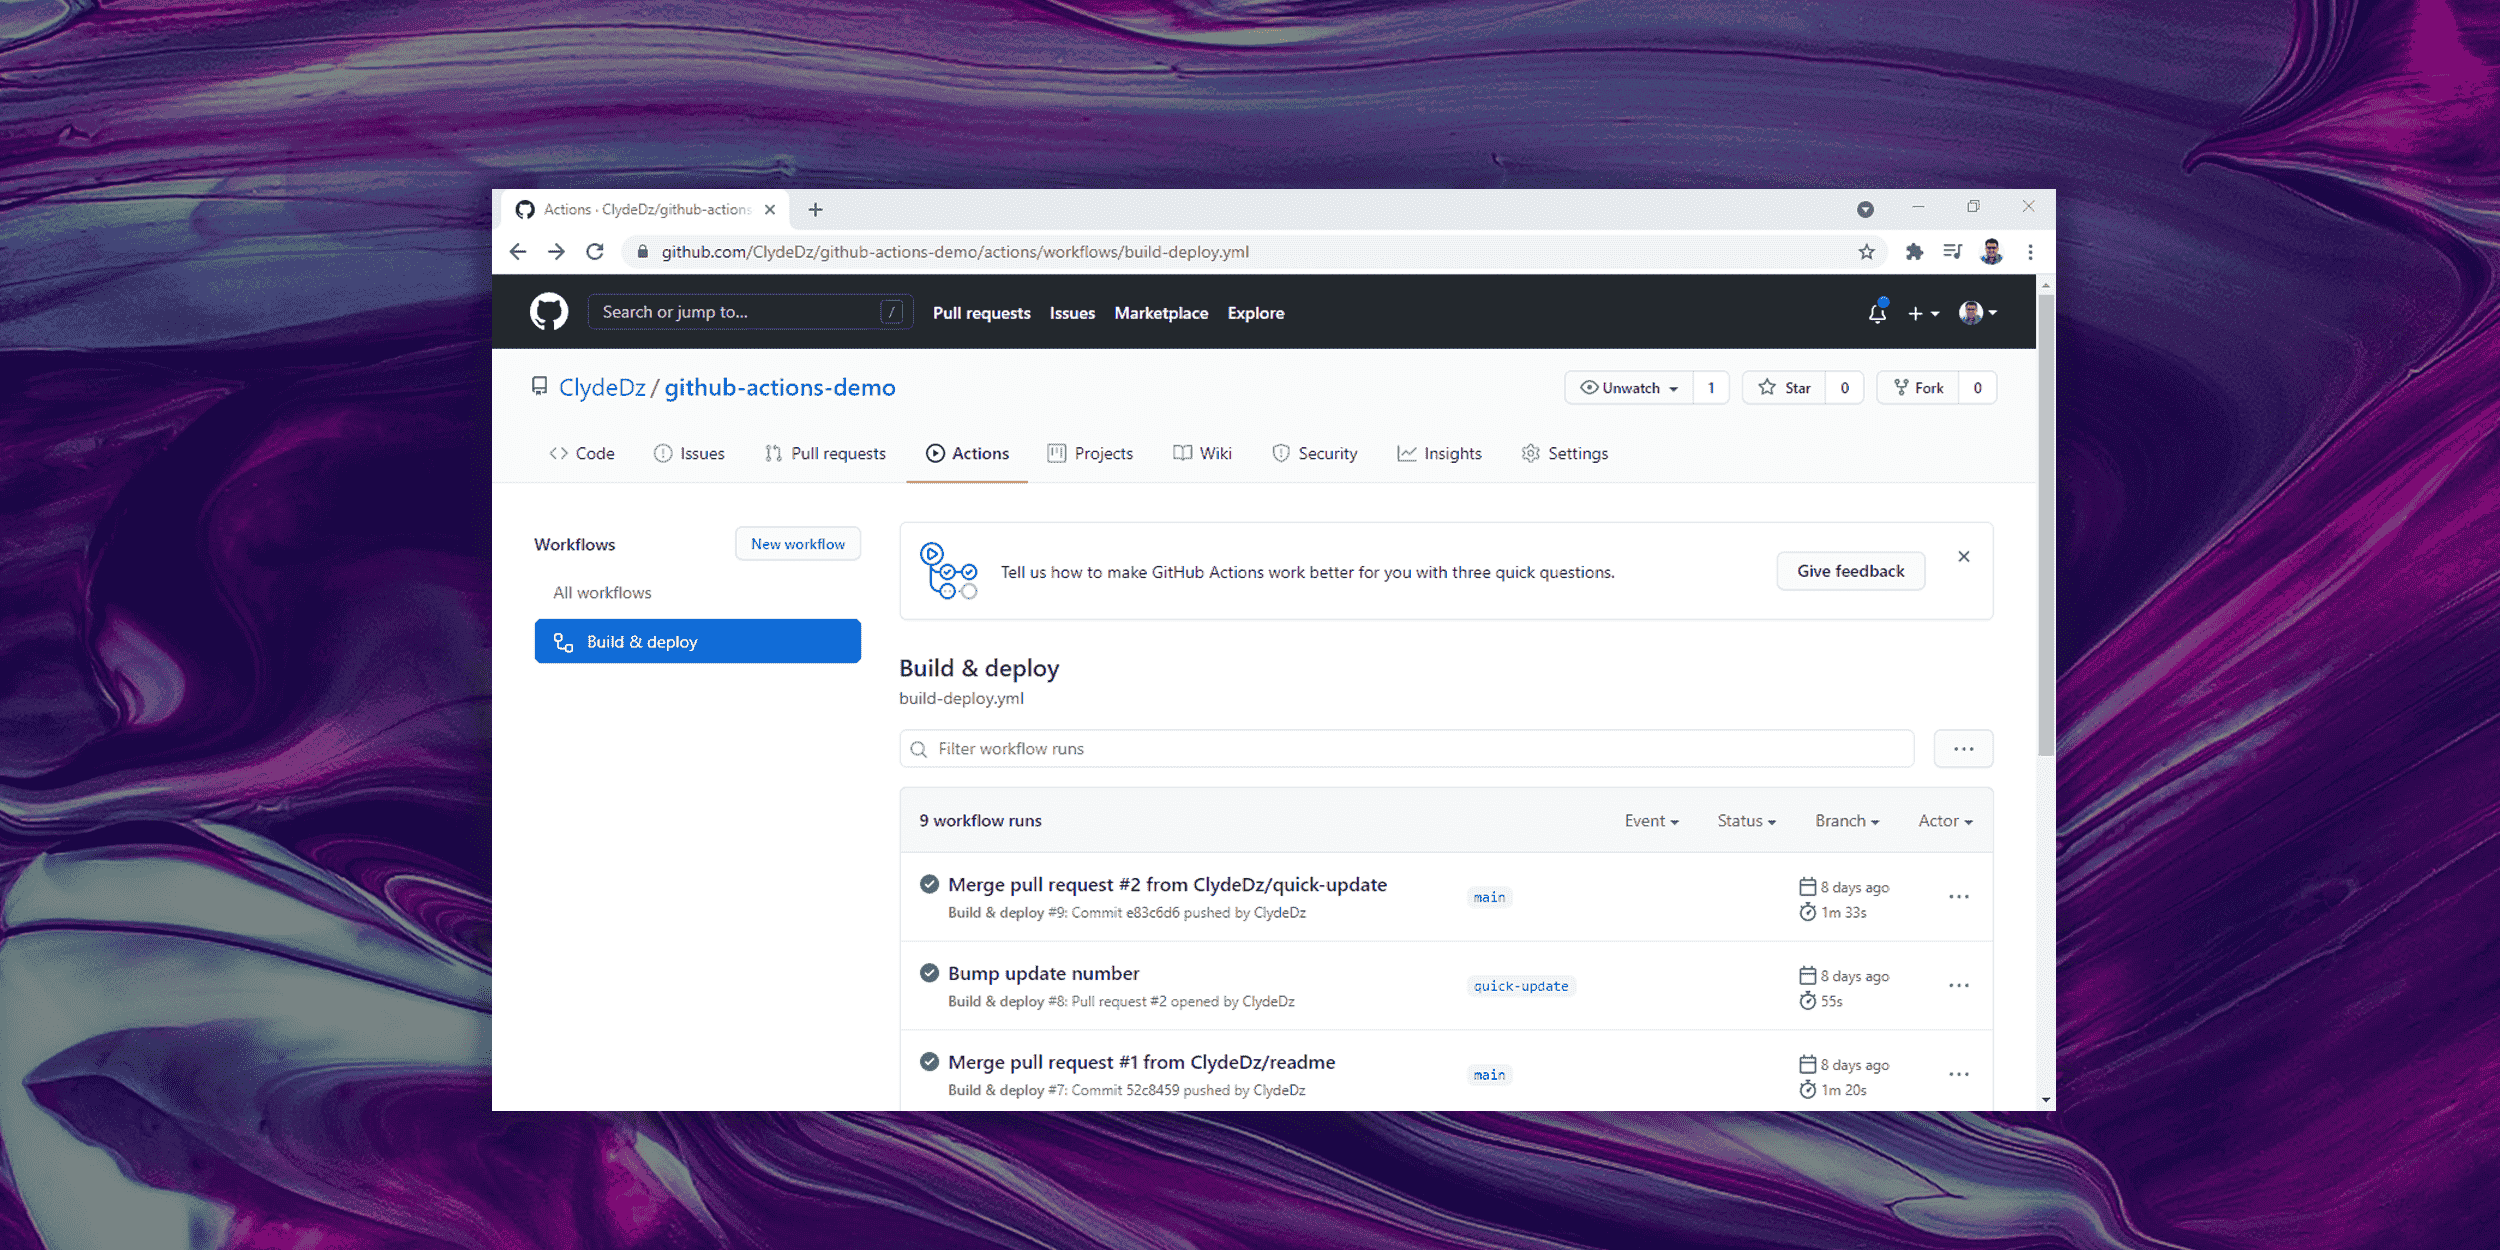
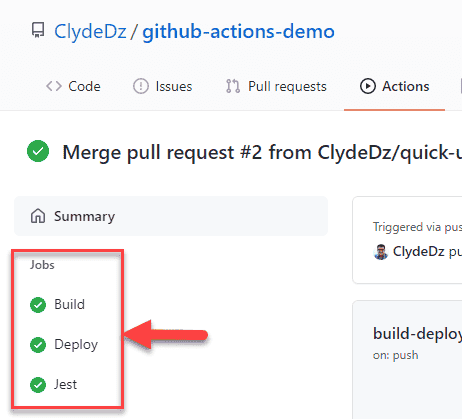
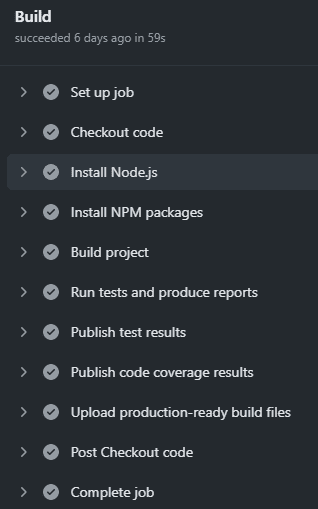
name: The display name for this job. This display name shows up in the GitHub Actions UI as shown below. Although this property is optional, I would highly recommend using this for better readability.
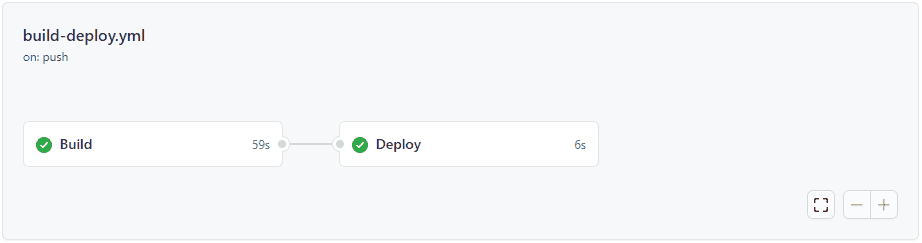
runs-on: A required keyword defining the type (Windows/Ubuntu/Mac) of machine this job runs on. If you stick with the default options, you're selecting a GitHub-hosted runner. These are virtual machines hosted by GitHub in Azure and come with pre-installed software to be able to run your workflow. If you'd like to use your own runner, you can select a self-hosted runner.needs: Jobs run in parallel by default. If you'd like to run them serially, you can supply a previous jobs key to this keyword. Once you run the entire workflow, GitHub Actions will create a dependency diagram similar to the screenshot below.
if: You can conditionally run this job by supplying a condition here. If this condition evaluates to true, the job will run otherwise it won't.
Steps
Steps allow us to flesh out what this job should really do.
steps:
  # General structure of steps
  # ↓ ↓ ↓ ↓ ↓ ↓ ↓ ↓ ↓ ↓ ↓ ↓ ↓

  - name: Your step name
    uses: third-party-action@version
    if: always()
    with:
      other-properties: property-value
      # Other properties of this property can go here
      # ...

  - name: Your step name
    run: npm run build
    # Other properties of this step can go here
    # ...
name: Just like the job name, this keyword is optional but I'd highly recommend using this because it provides better readability. Without specifying a step name, GitHub Actions will automatically assign a name based on your task.
Every step above uses the name keyword to describe what it's meant to do.
if: Conditionally execute a step, similar to theifkeyword in the jobs section above.
Using an action from the marketplace
You can leverage one or more actions from the GitHub Actions Marketplace. These actions are developed by the community and solve specific problems. You would use these keywords when using a third-party action from the marketplace.
uses: This value is of the formataction-name/version. The action name will usually be provided by the creator of the action. If not, the action name is usually of the formatgithub-repo-owner/repo-name. For the version, you could either use@latestor a specific version like@v2. If you do use@latest, you would need to be wary of any breaking changes being introduced in the near future which may cause your workflow to fail.with: If the action needs some inputs, you can supply them using this keyword.
Running a custom command
When you aren't using a third-party action, you're probably executing some commands. These keywords are for the steps where you want to execute a command-line.
run: If you'd like to execute a command-line program, you may supply the command here.working-directory: You can specify the directory to run this command in.shell: By default,bashis used in a non-Windows runner andpwsh(PowerShell Core) is used in a Windows runner. If you'd like to change this, you can select one of the many pre-defined shell options.
Note: A step will either have run or uses but not both.
Artifacts
If you've used other CI/CD tools before, you would be wondering how do artifacts work in GitHub Actions. Artifacts are used to share data from one job to another job and also store data once a workflow is complete. In GitHub Actions, we'll need a way to upload artifacts and a way to download them. Let's take a look.
Upload an artifact
To upload an artifact, we'll make use of the Upload a Build Artifact GitHub Action created by GitHub.
# In a previous step you would generate a deployable package
# Example: Executing `npm run build` in a React app will generate
# your production-ready website in the 'build' folder.

- name: Upload deployable package
  uses: actions/upload-artifact@v2
  with:
    name: my-artifact
    path: path/to/artifact
The above code snippet shows how you'd use this action. The uses property tells us that we're using the action actions/checkout version 2. The name keyword allows us to name the artifact and the path keyword indicates the directory that contains the data that needs to be uploaded.
After a successful build, you should see the generated artifact in the GitHub Actions UI.
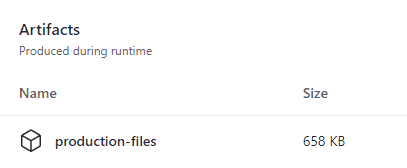
Notice that it has the name you specified in the YAML above. If you click on that, it will download a ZIP file containing the artifacts you've just uploaded.
Download an artifact
Similar to the upload artifact step, we'll be using another action from the marketplace called Download a Build Artifact.
# Start of a new job

- name: Download artifact
  uses: actions/download-artifact@v2
  with:
    name: my-artifact
    path: path/to/artifact
# Remainder of the steps
The name keyword tells the action what artifact to download. The path keyword indicates where to place the downloaded artifact files — it will create this directory if one doesn't already exist. Later in the deployment pipeline, if you need any files from this directory, you can reference them straight-away.
Source code and full workflow file
Here's the GitHub repository that hosts a demo website and a workflow file that builds and deploys it. This is what the complete workflow file looks like:
name: Build & deploy

on:
  push:
    branches:
      - main
  pull_request:
    branches:
      - main

jobs:
  build:
    name: Build
    runs-on: ubuntu-latest

    steps:
      - name: Checkout code
        uses: actions/checkout@v2

      - name: Install Node.js
        uses: actions/setup-node@v1
        with:
          node-version: 13.x

      - name: Install NPM packages
        run: npm ci

      - name: Build project
        run: npm run build

      - name: Run tests and produce reports
        run: npm run test:ci

      - name: Publish test results
        uses: IgnusG/jest-report-[email protected]
        if: always()
        with:
          access-token: ${{ secrets.GITHUB_TOKEN }}

      - name: Publish code coverage results
        uses: romeovs/lcov-reporter-[email protected]
        with:
          github-token: ${{ secrets.GITHUB_TOKEN }}
          lcov-file: ./coverage/lcov.info

      - name: Upload production-ready build files
        uses: actions/upload-artifact@v2
        with:
          name: production-files
          path: ./build

  deploy:
    name: Deploy
    needs: build
    runs-on: ubuntu-latest
    if: github.ref == 'refs/heads/main'

    steps:
      - name: Download artifact
        uses: actions/download-artifact@v2
        with:
          name: production-files
          path: ./build

      - name: Deploy to gh-pages
        uses: peaceiris/actions-gh-pages@v3
        with:
          github_token: ${{ secrets.GITHUB_TOKEN }}
          publish_dir: ./build
That's it! Thanks for reading.