- Published on ·
- Reading time 4 min read
Excel to the Rescue
Creating SQL statements using Excel formulas
Share this page

Introduction
I've been in this situation too many times where I've had to go creative with using Excel to make my work with SQL easier. You might be wondering how? Well, then you're in the right place — read on to find out how. For those of you who know what I'm talking about, feel free to give it a clap if this resonates with what you've experienced.
Problem
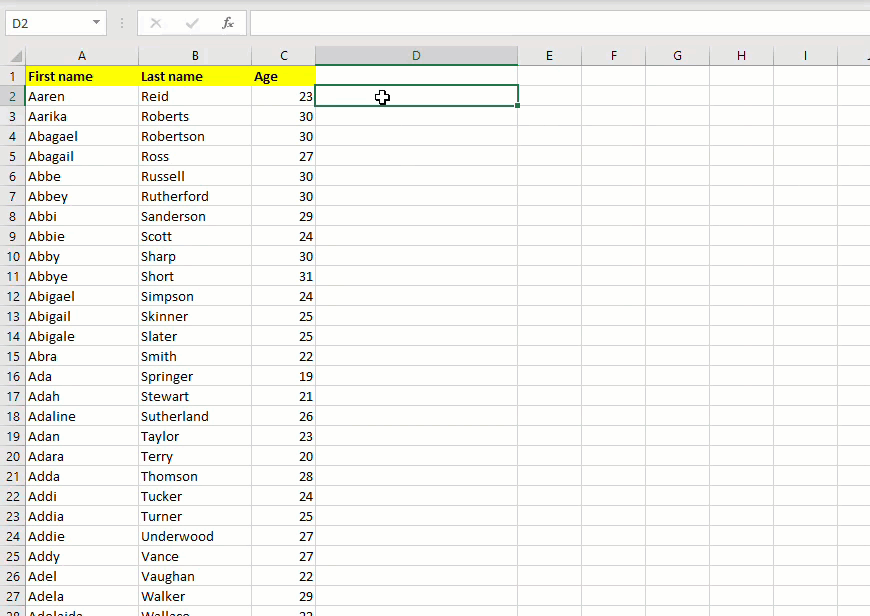
Imagine you have been given a huge list of data in Excel that needs to be entered into the database. Imagine something like the picture below but only hundreds of records more than this.

You would think, if it was a single record, you could have written a SQL statement like this:
INSERT INTO Users
(FirstName, LastName, Age)
VALUES
('Aaren','Reid', '23')
And for a handful of records, we could write multiple rows using a single INSERT statement like this:
INSERT INTO Users
(FirstName, LastName, Age)
VALUES
('Aaren','Reid', '23'),
('Aarika','Roberts', '30'),
('Abagael','Robertson', '30')
...
However, since this is a huge list, we should look at simplifying the creation of our SQL script, shouldn't we?
Solution: Excel to the rescue
We'll make use of Excel's formula to create the bulk insert script. Let's click on the cell D2 and add this formula into it: ="('"&A2&"','"&B2&"','"&C2&"'),". This formula is just a concatenation of strings and cell values together using the ampersand sign (&). So, if the formula was =A2&" "&B2, it would result in Aaren Reid, in this example.

Now, place your cursor on the lower right corner of the cell until the cursor changes to a plus icon. Once it does, hold and drag the green box down to the last row in your Excel spreadsheet. The GIF below explains this visually.
With all the values in column D selected, copy them. Open up your SQL client and paste all the values below the VALUES keyword.
Tip: I'm using the portable SQL client HeidiSQL for this demo. Instead of connecting to the traditional database, I'm using a local copy of SQLite. If you haven't tried HeidiSQL yet, go ahead and check it out here.
The last line will have a comma (,) appended — remove the comma. Finally, run the query.
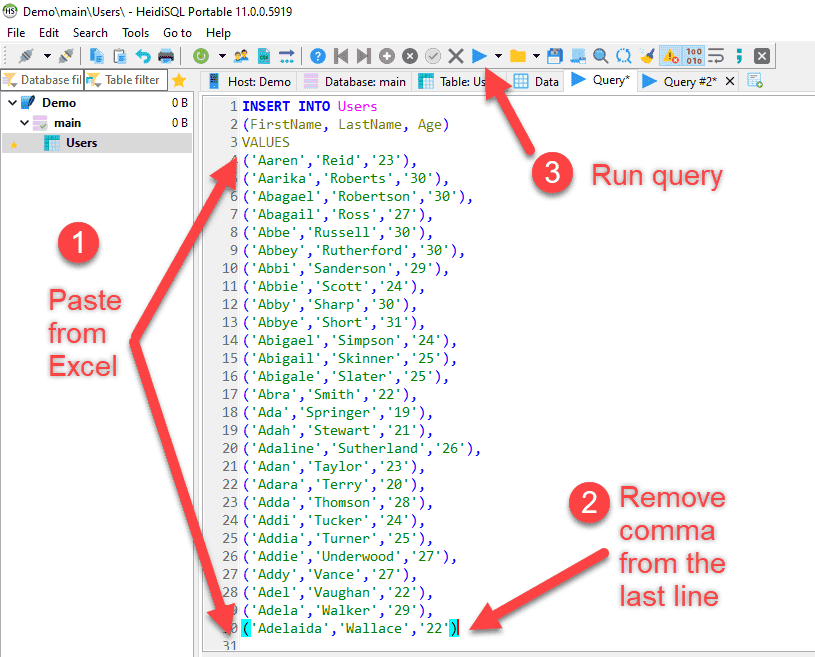
Click the Data tab to see all the values inserted into the table.

Tip: You may be limited to a maximum of 1000 rows per insert statement as documented here. But now that you know how to use Excel formulas, you can also add the
INSERTpart of the SQL statement into your formula if you have more than 1000 records to be inserted.
While the above write-up is for a straightforward bulk insert scenario, you are not limited to just that.
Sample scenario #1
Update employee's verification records using the ID's listed in the Excel file with the values found in the second column of the same Excel file. Update employee notes table for these employee with the values in the third column of the Excel file.
Potential solution: Create a stored procedure that accepts employee ID, verification status and employee notes. Write SQL statements in this stored procedure to update the appropriate records based on these inputs. Use the Excel formula to execute the stored procedure passing the inputs from the Excel file.
Sample scenario #2
A one-off script to update table X using the ID's listed in the Excel file. Update column Y in the database with a value of 123 if the second column's value for that record in the Excel file is greater than 6 June 2006, otherwise update with a value of 456.
Potential solution: In a new Excel column, use a simple IF condition to decide the final value based on the condition specified scenario. Then, in another column besides that, use an Excel formula to create the SQL statements to update column Y of table X but use the newly created column we just created to determine the final value.
That's it! Thanks for reading.