- Published on ·
- Reading time 5 min read
Configuring Accessibility Unit Tests
With a little help from the Jest Axe Library
Share this page

Introduction
Until now, you might've read articles on setting up a React project and possibly even some unit tests. But what about accessibility? Let's say you want to add some accessibility (a11y) tests, how should we do that? In this quick how-to article, we'll look at setting up accessibility tests using the Jest testing framework.
Assumptions
For this article, let's assume you've already got a React project up and running. You have some components ready and now intend to add some unit tests.
Set up
We'll start by installing all the required packages to get our unit tests working. If you already have the basic unit test framework, you can skim through the instructions.
Open up the terminal window in the project directory and paste the following npm install command.
npm install --save-dev
    @testing-library/react
    @testing-library/jest-dom
    @testing-library/user-event
    jest
    jest-environment-jsdom
    babel-jest
    @babel/preset-env
    @babel/preset-react
    @types/jest
Here's an explanation of what packages we're installing:
- @testing-library/react: This is the library for testing React components.
- @testing-library/jest-dom: This package provides custom Jest matchers for DOM assertions like
toBeInTheDocument(). - @testing-library/user-event: This package provides the ability to simulate user interactions like
userEvent.click(). - jest: This is the testing framework we're using.
- jest-environment-jsdom: This package simulates a DOM environment as if you were in the browser. This means that every DOM API we call can be observed in the same way it would be observed in a browser!
- babel-jest, @babel/preset-env, @babel/preset-react: This is required for transpiling modern JavaScript and JSX for Jest.
- @types/jest: This is required only for IntelliSense to work in VSCode
First, we will create the file jest.config.js in the root directory and copy the following contents into it.
module.exports = {
  testEnvironment: 'jsdom',
  setupFilesAfterEnv: ['<rootDir>/jest.setup.js'],
  moduleNameMapper: {
    '\\.(css|scss|less|sass)$': '<rootDir>/__mocks__/styleMock.js',
  },
  transform: {
    '^.+\\.(js|jsx|ts|tsx)$': 'babel-jest',
  },
  testPathIgnorePatterns: ['/node_modules/', '/dist/'],
}
This Jest config file sets the test environment as jsdom, it then points to the jest.setup.js file to load additional set-up required for your Jest tests, the moduleNameMapper points to a mock file that replaces the imported CSS with an empty object, the transform key allows us to set the babel transformer to transpile the JSX files, and finally, the testPathIgnorePatterns allows us to set the directories to exclude from finding test files.
Since the Jest config file points to various files, let's start by creating them one by one and adding some content to them.
We will create a file called babel.config.js in the root directory of the project. These are the babel transformers that Jest will use.
module.exports = {
  presets: ['@babel/preset-env', '@babel/preset-react'],
}
Next, in the jest.setup.js file, we will add the following content. This file is also to be placed in the root directory. This will add custom Jest matchers for DOM nodes.
import '@testing-library/jest-dom'
Let's not forget to create the CSS-style mock file in the <root directory>\__mocks__\styleMock.js directory.
module.exports = {}
Enough with the set-up! Now let's get some tests running. I'm going to create the file button.test.jsx and write the code as outlined below. Basically, it renders the button component, tries to find the button using the role, and then just confirms that the button has the “Greetings” text.
import { render, screen } from '@testing-library/react'
import React from 'react'
import { Button } from './Button.jsx'

describe('<Button>', () => {
  it('should display button label', () => {
    render(<Button label={'Greetings'} />)
    const button = screen.getByRole('button')
    expect(button).toHaveTextContent('Greetings')
  })
})
After executing the unit tests, we see that it passes with green colours!
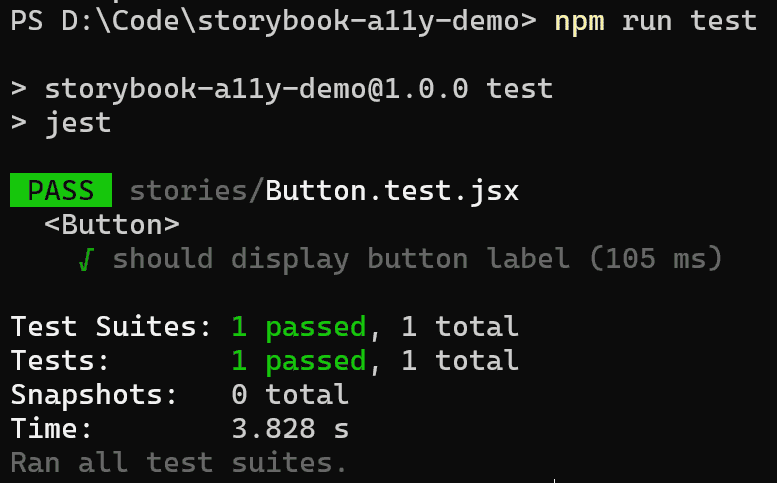
Image courtesy of the author
Adding accessibility tests
To add accessibility tests in Jest, we'll need to add two more packages.
npm install --save-dev jest-axe @types/jest-axe
- jest-axe: This is the package that contains a custom Jest matcher for Axe for testing accessibility.
- @types/jest-axe: This is only required to enable IntelliSense in VSCode.
We'll add some additional code to the button.test.jsx file. In the snippet below, I've only shown the code we need to add to the test file to get the accessibility test working for this component.
import { axe } from 'jest-axe'

// + same exports as the previous code snippet

it('should have no a11y violations', async () => {
  const { container } = render(<Button label={'Greetings'} />)
  const results = await axe(container)
  expect(results).toHaveNoViolations()
})

// + additional tests for that component
When I execute the tests, the accessibility test fails.

Image courtesy of the author
To fix this error, we'll need to extend expect to also support toHaveNoViolations that come from the jest-axe library in the jest.setup.js file.
import '@testing-library/jest-dom'
import { toHaveNoViolations } from 'jest-axe'

expect.extend(toHaveNoViolations)
Now when we execute the tests, it passes.
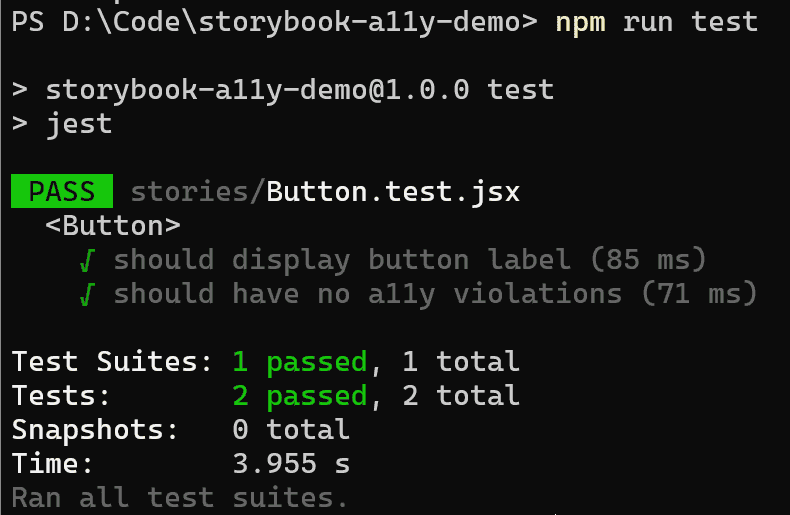
Image courtesy of the author
If we intentionally supply empty text to the button like this render(<Button label={""} />) and then execute the tests again, we can see that the jest test fails with the error message informing us to fix the accessibility issue.
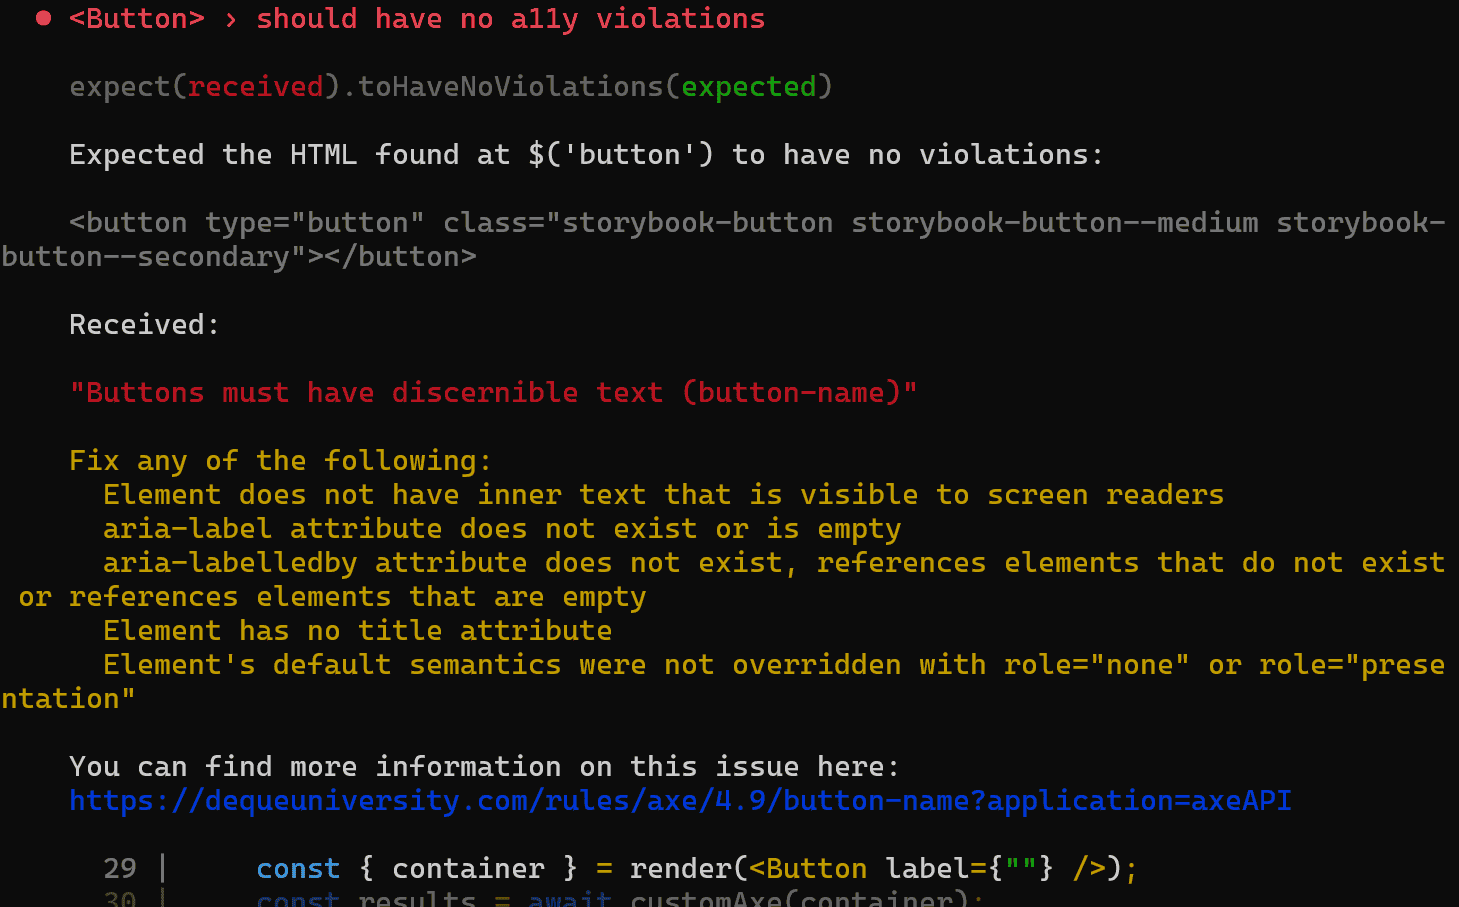
Image courtesy of the author
Now, just because we implemented accessibility tests, it doesn't mean that we can 100% rely on these tests alone and it will cover all accessibility issues. In fact, the jest-axe library itself has a disclaimer stating that — “The project does not guarantee that what you build is accessible. The GDS Accessibility team found that only ~30% of issues are found by automated testing”. But it's still better to have them in so we can at least cover the basics using automated tests.
That's it! Thanks for reading.